Electronics Lab Setup
by Sidney Kantor
Power Supplies
Below is the BK Precision 1670A power supply. As makers most of us have been interested in the idea of making our own power supply. The problem is that you need a decent power supply to power your prototypes during the development process. Therefore, I was interested in purchasing a very basic power supply that would adequately support my projects until time permitted me to build my own. After researching for a while and keeping cost/value in mind I decided to go with this power supply. I found this one sold as new “unclaimed freight” on ebay. It was missing a power cord but I had plenty of extras around so no worries. I ended up getting it shipped to my door for about $100 which is about half the cost of a new one. It's very basic but that’s okay as I like the simplicity of its use. I have designed and protoypted (breadboarded) my own power supply but it is still sitting on my bench next to a pencil sketch of the front panel.
I also wanted a dual supply for powering op amps so I built a small one using a few boards I sourced from Amazon. I 3D printed an enclosure, installed some banana posts and hooked it up to the power supply giving me +/- 15V with a center ground.
Some of the things I design are high voltage, high current motor controllers that can handle anywhere from 10 to 100 Amps so for that I use a bank of 7 small 12V lead acid batteries in series. That’s enough voltage and current to keep me on my toes for sure!
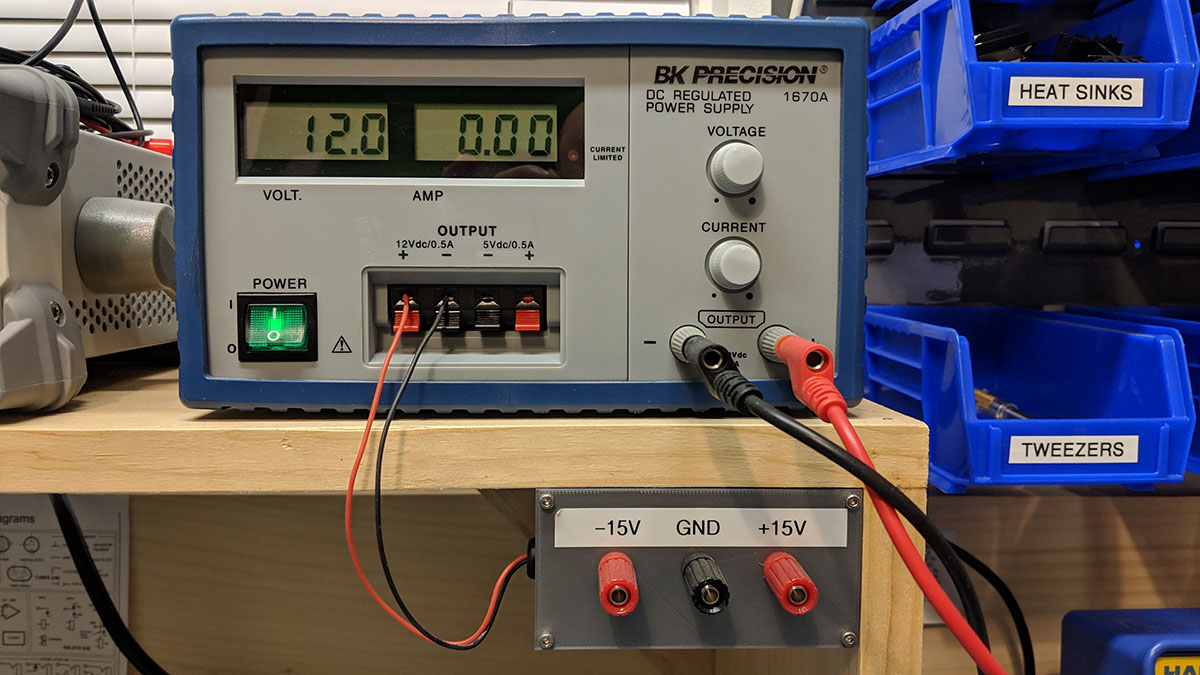
BK Precision Triple-Output 30V, 3A Digital Display DC Power Supply
Update: I finally broke down and purchased a higher end programmable linear power supply from Siglent and so far I'm very happy with it. The TFT-LCD screen and digital interface is really nice. Having two power supplies is very handy for projects requiring many different voltage rails.
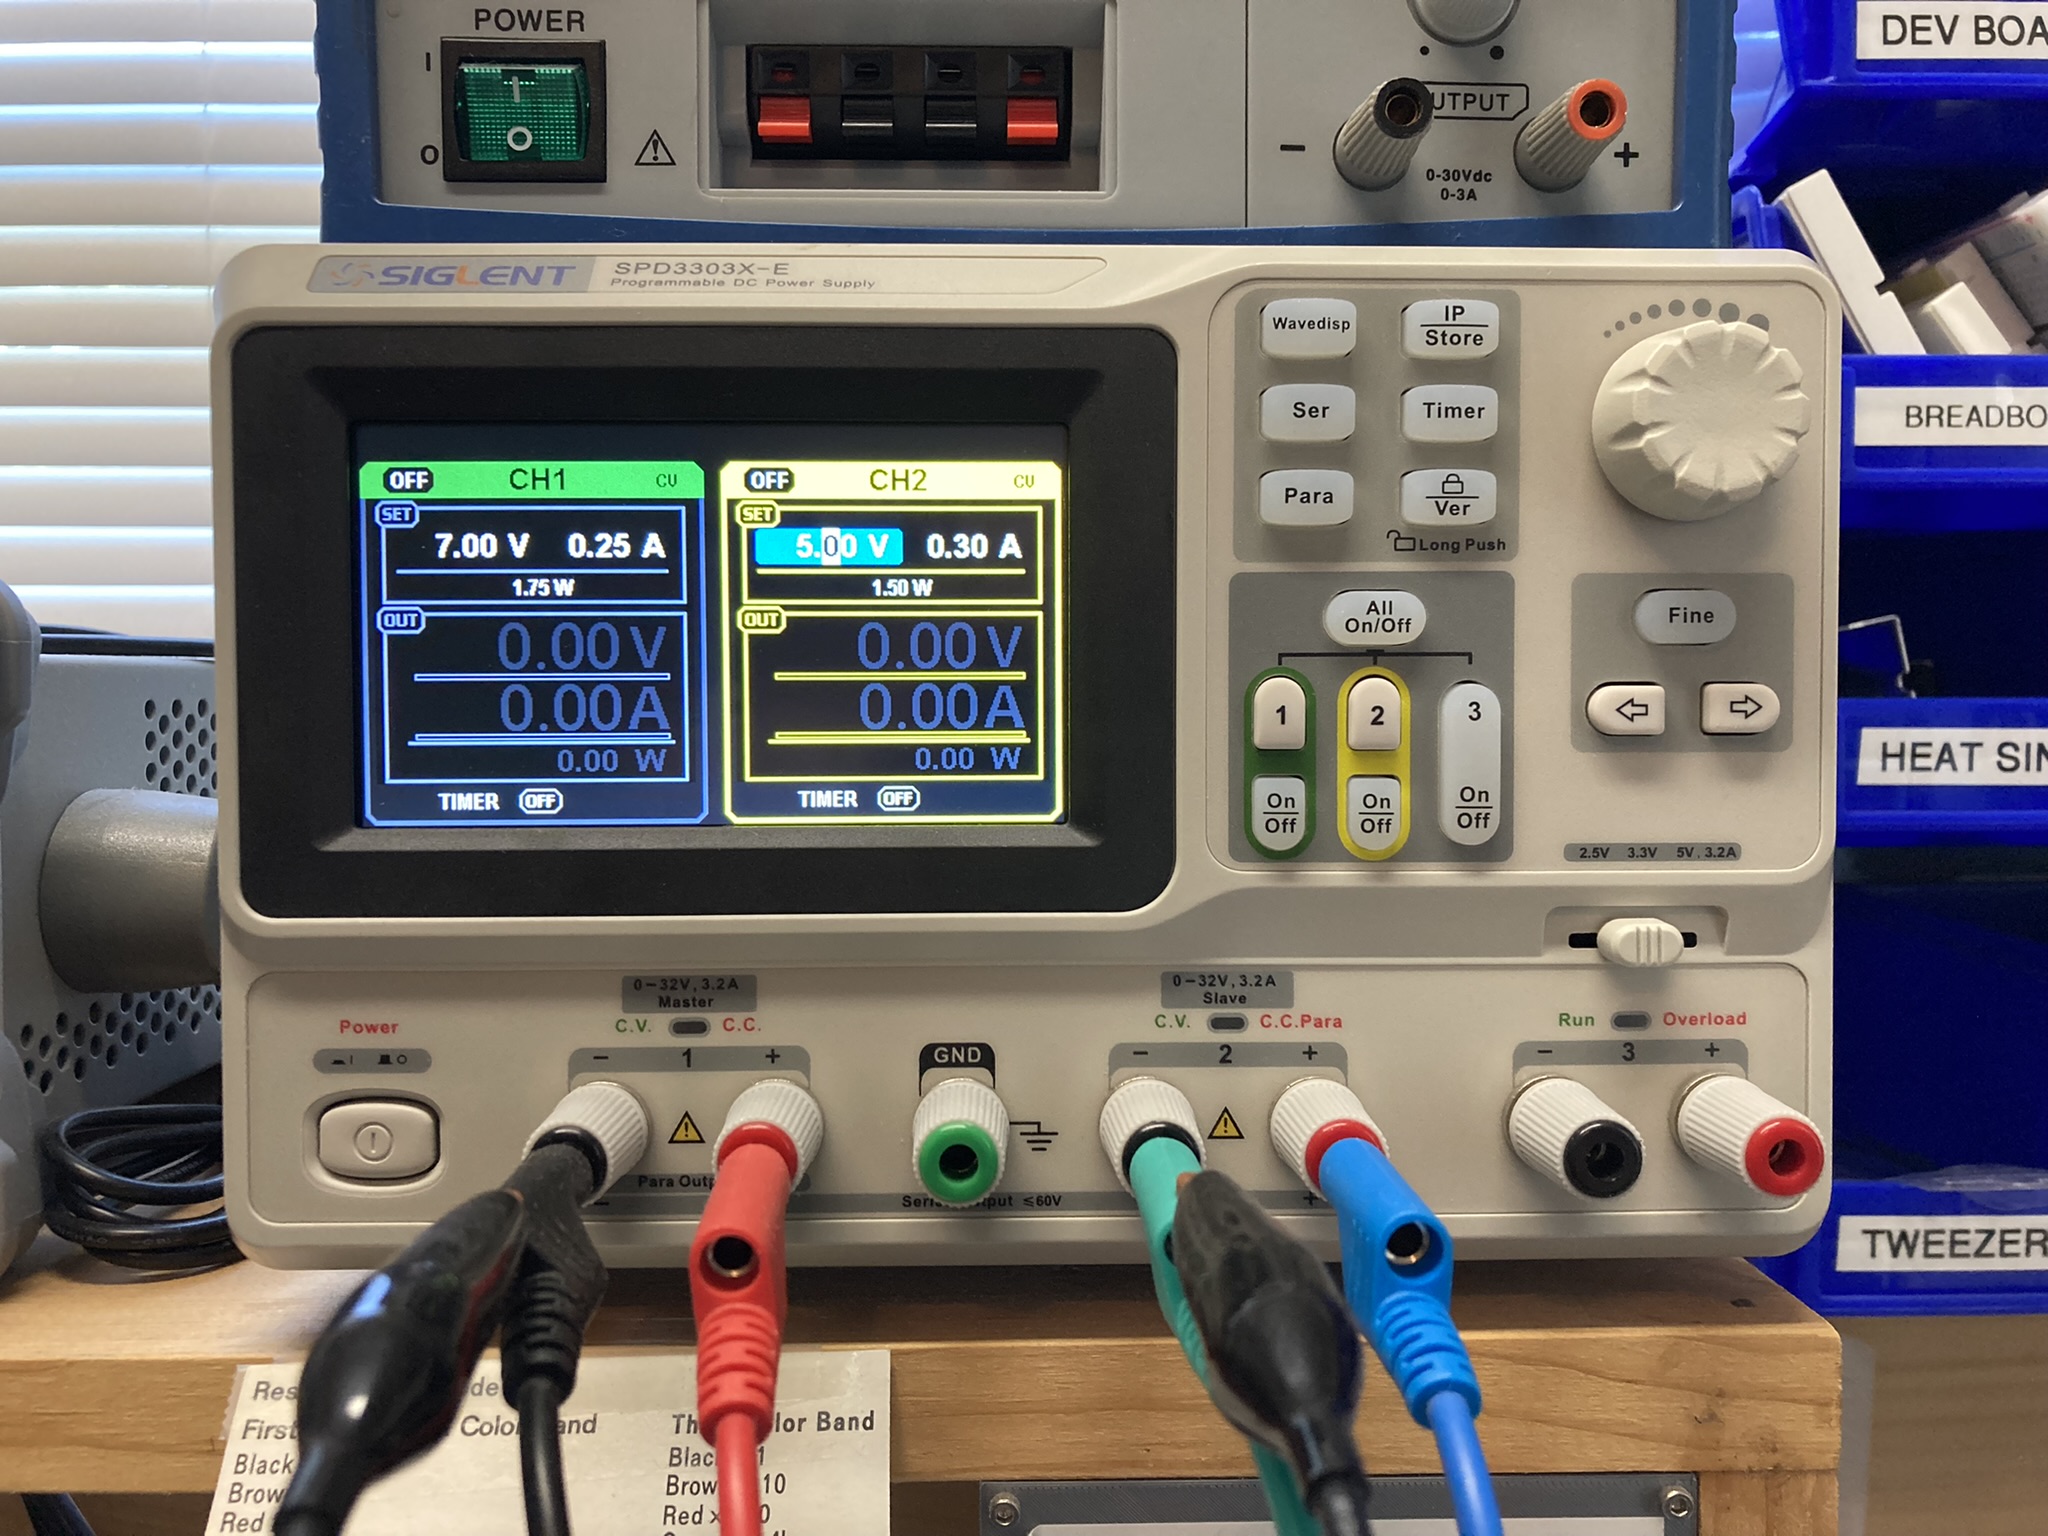
Siglent SPD3303X-E Series Programmable DC Power Supply
Multimeters
Multimeters are essential to any good electronics lab setup. That being said, depending on what you plan on working on, you may be fine with a couple of low to mid-range multimeters. The multimeters below are not fantastic but they do the business just fine. Also, having two multimeters is a good idea as it allows for measuring current and voltage at the same time. I definitely plan on investing in a higher end multimeter at some point in the future.
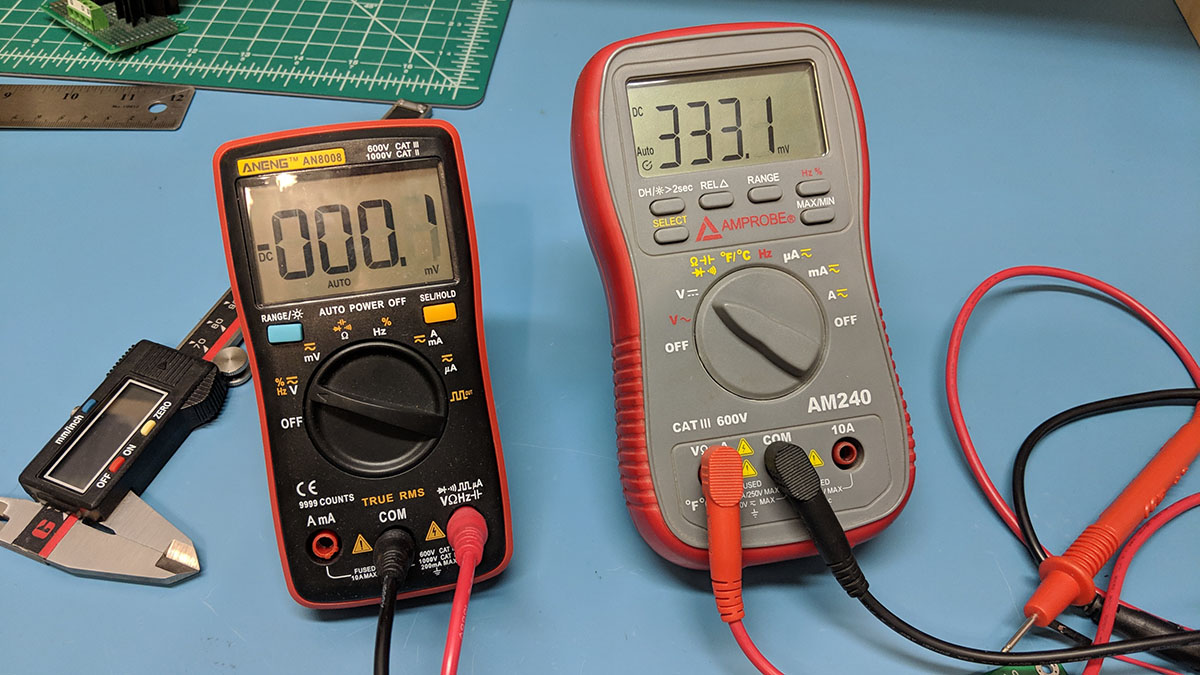
Amprobe AM240 and Aneng AN8008 Multimeters
Oscilloscopes
Years ago, shortly after I first got into electronics, I was visiting my brother in Northern California. While we were out we came across a hole in wall surplus electronics store. Littered on the industrial metal shelves were countless analog oscilloscopes, circa late 1970s. After careful inspection I purchased the Tekronix 455 pictured below for around $70. I had it shipped to my home on the East Coast and it has served me very well.
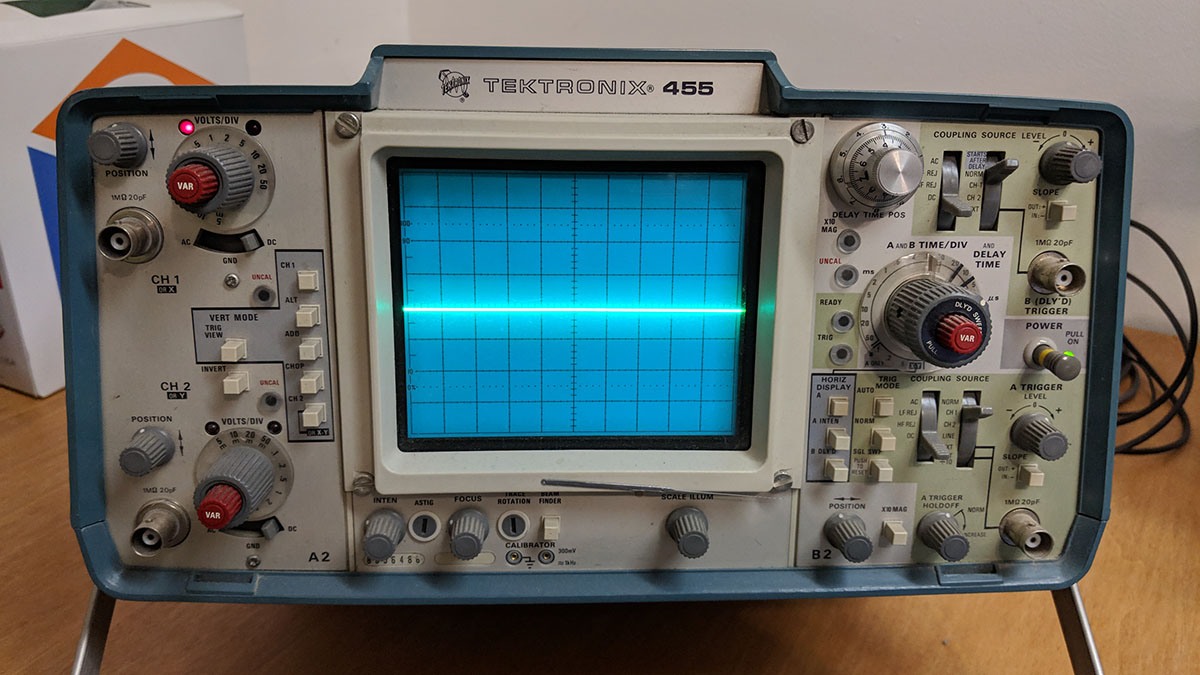
Tektronix 455 50 MHz 2 Channel Analog Oscilloscope
As my knowledge of electronics grew and my projects expanded into the digital realm, I realized it was time to finally purchase a digital oscilloscope. Dave Jones from EEVBlog had done countless reviews on Rigol products and always had positive things to say about them so I went ahead and purchased the Rigol DS1054Z 50 MHz 4 channel oscilloscope. The oscilloscope is great and the serial decoding functionality is just one of its really nice features to have, for example when trying to get chips talking via Serial, SPI or I2C. I paid around $420 for the oscilloscope and it was a worthwhile investment.

Rigol DS1054Z 50 MHz (100 MHz unlocked) 4 Channel Digital Oscilloscope
Signal Generator
One of the projects I worked on was a wireless communicator which could transmit data using audio or text. When transmitting the audio I was seeing degradation of the audio signal. This was not surprising given that fact that I was using ADCs and DACs built into the PICs that I was using to interface with the transceivers. I really needed to understand where the issues were coming from so I decided to invest in a function generator. Given that I was already happy with my Rigol oscilloscope, I decided to go with one of their signal generators as well. I went with the Rigol DG1022Z 25 MHz arbitrary function generator which cost around $380. The function generator allows me to generate all kinds of waveforms. This allowed me to send very well defined waveforms into my wireless communicators to see the introduced artifacts very clearly. The waveform generator is also great to have if you are designing audio filters.
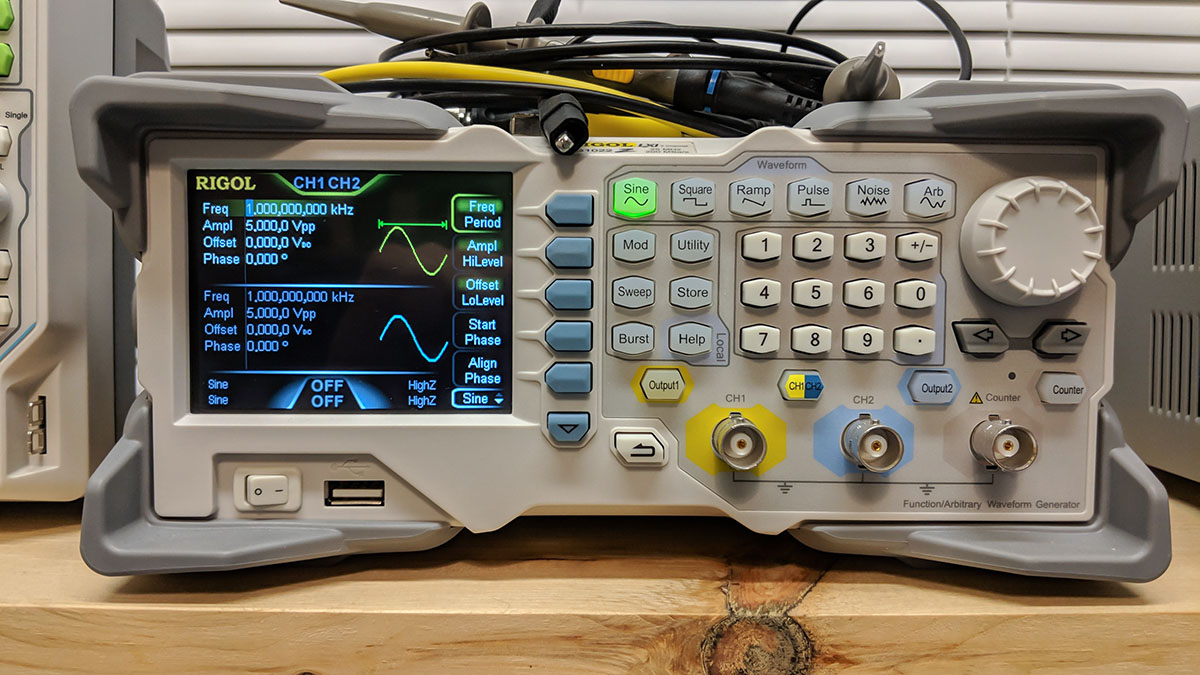
Rigol DG1022Z 25 MHz Arbitrary Function Generator
Microscope
Every electronics lab will benefit from having some kind of microscope. There are a ton of different varieties. I went with the microscope below for two reasons, to get my son interested in science and also to support my electronics work. This scope allows me to place and solder the smallest of surface mount components. At the time I think I paid around $400 for this scope and I can honestly say it has been invaluable.
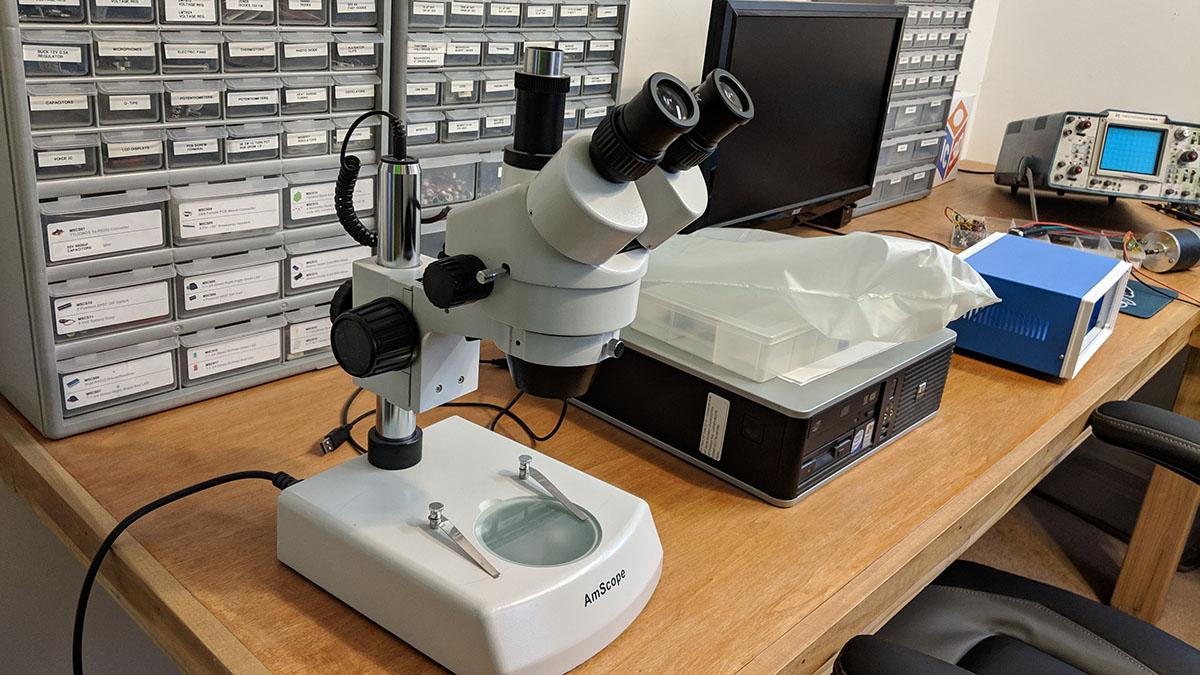
AmScope 7X-180X Trinocular Zoom Stereo Microscope W Dual Lights
3D Printer
As an inventor/maker/creator, the explosion of 3D printers had me super excited. The idea of being able to design and print tailor made enclosures for my electronic projects seemed too good to be true. At the time of my research the price ranges for FDM printers were all over the place. The idea of a 3D printer for $200 to $300 dollars was tempting but luckily, after some due diligence on my part, I made a great decision and went with the best. For around $800 I purchased the Original Prusa i3 MK2S 3D Printer. I can't say enough good things about Joseph and his company. I bought the kit version which required assembly and it definitely took some skill and patience but the documenation was very good. I use Autodesk Fusion360 to design and model all of my parts. If you are an inventor/maker/creator you will absolutely benefit from having one of these in your lab.
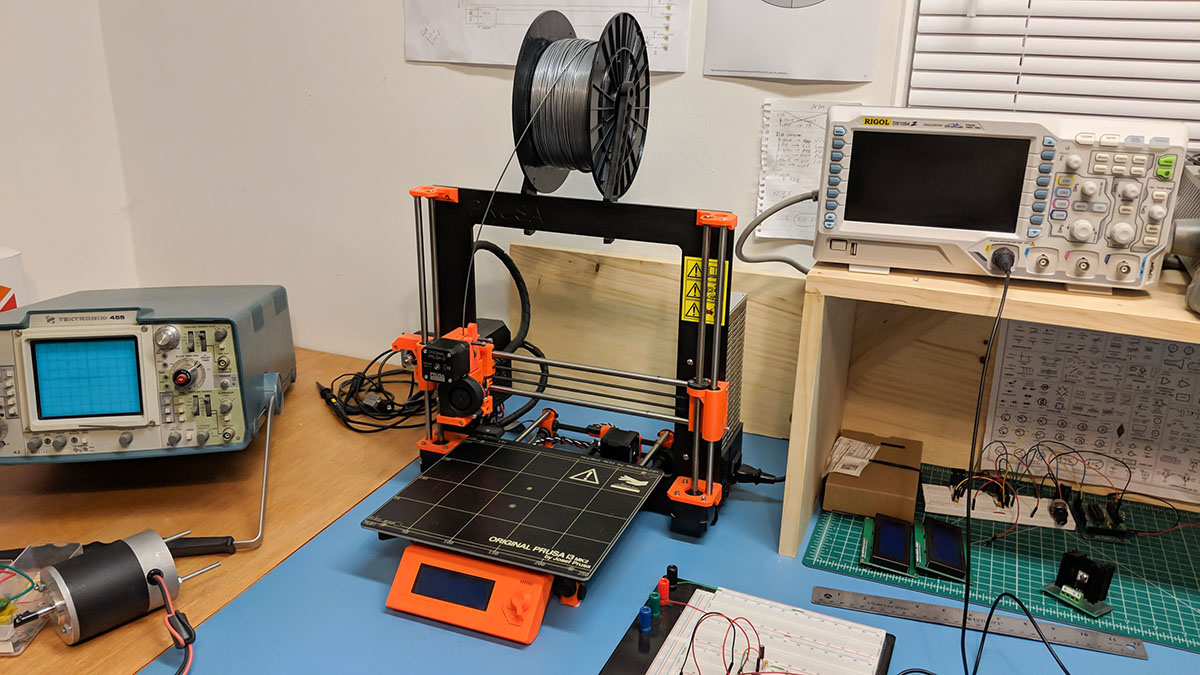
Original Prusa i3 MK2S 3D Printer
Soldering Tools
Here is my soldering setup. Very basic but it works. It would be great to have a nicer soldering station but given that this one is working fine I feel the money is better spent on other equipment. Also, its a good idea to get and use a smoke absorber/extractor and when soldering.
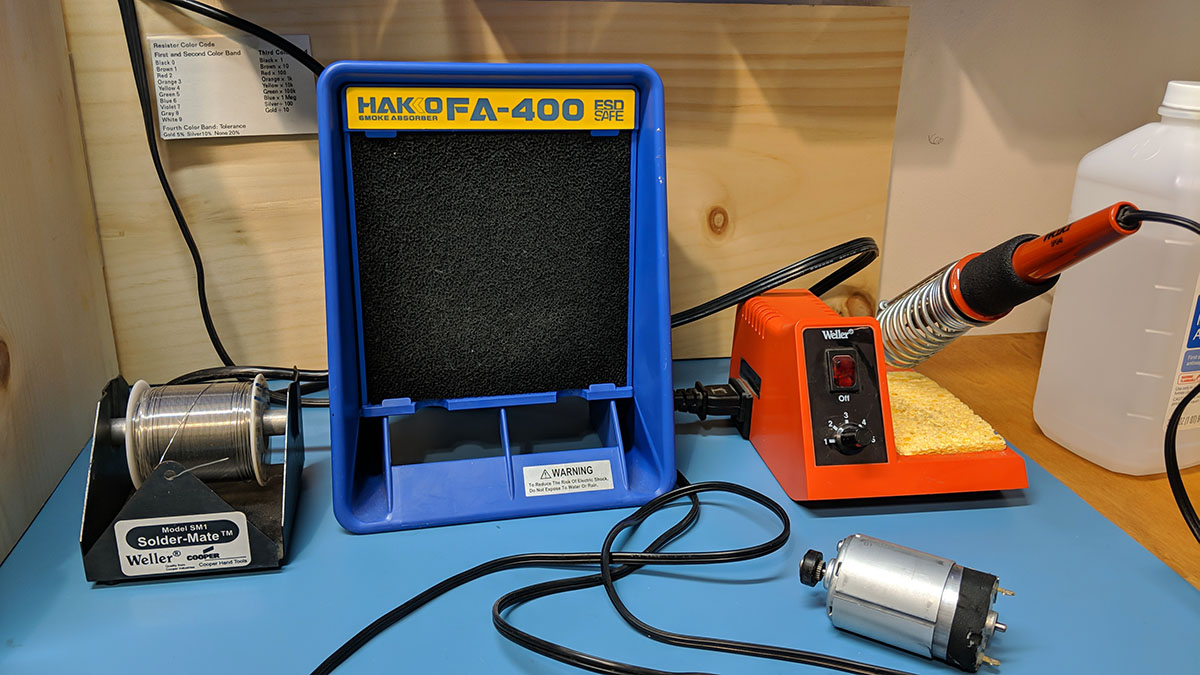
Weller WLC100 and the Hakko FA-400 Smoke Absorber
Breadboards
I have a bunch of breadboards from different manufacturers. Some are better than others and when I find one I like, I immediately order more. I like having plenty of breadboards around so that I don't have to tear down an old circuit every time I want to prototype a new circuit.
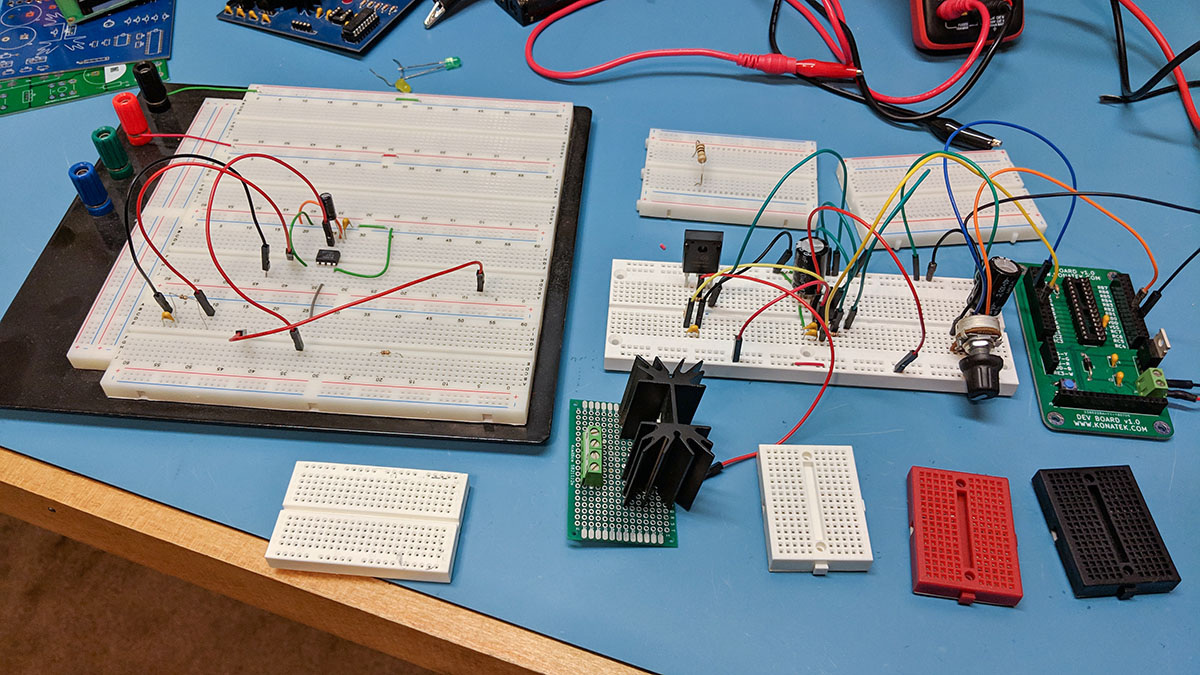
Assortment of various sizes of breadboards.
Flir Thermal Imaging Camera
This is my Flir C5 thermal imaging camera. It definitely hit the wallet hard, however when dealing with power electronics, this thermal camera is invaluable. When testing my motor controllers and I set this camera on a tripod and begin the stress testing looking for areas of the board that are unexpectedly hot.
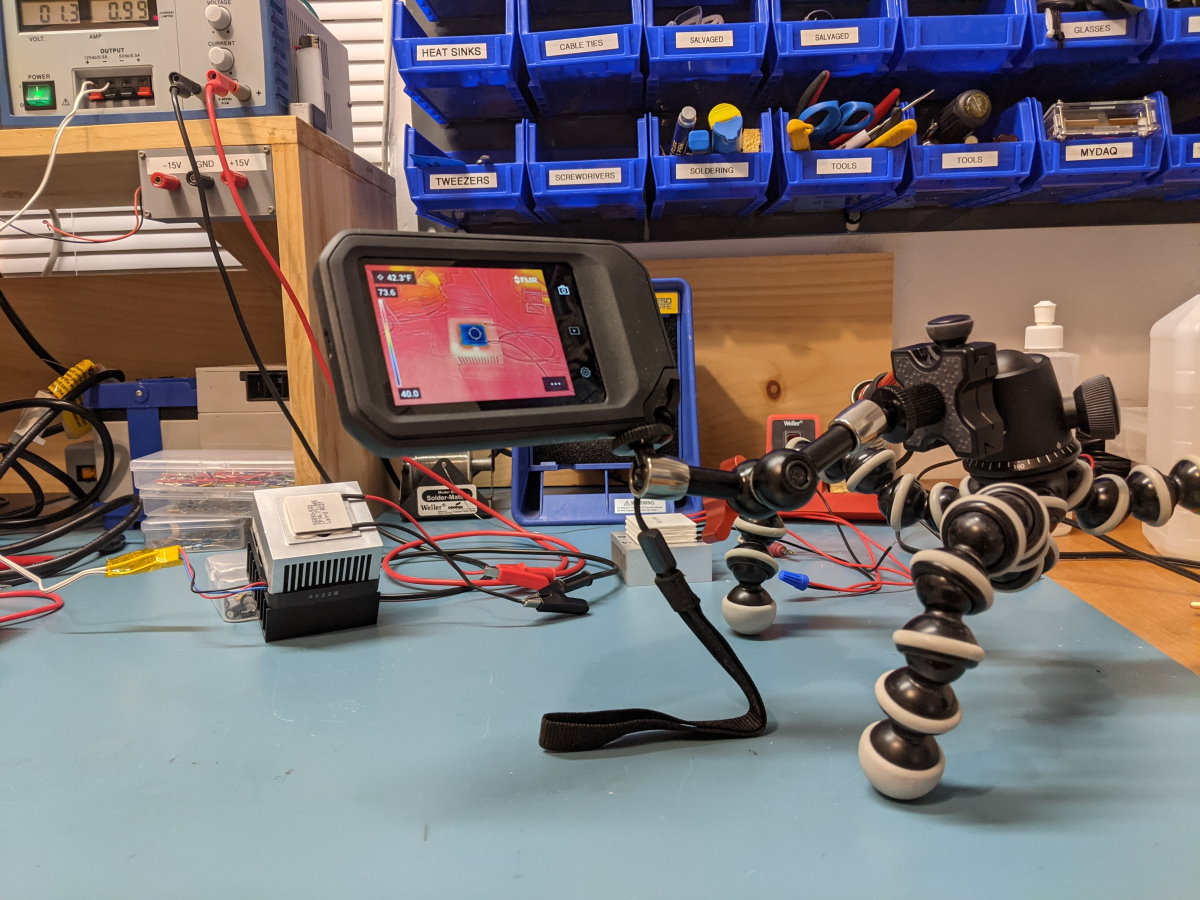
Flir C5 thermal imaging camera looking at the temperature differential between a thermoelectric peltier device and the heat sink its mounted to.
Puhui Reflow Oven
This reflow oven was a pretty good deal but did require some modifications. I had to do a few things like ensure proper grounding internally, replace some internal tape with Kapton tape and upgrade the firmware with open source firmware created by Unified Engineering. There is still a thermocouple temperature compensation issue to deal with, but overall, I'm quite happy with this oven.
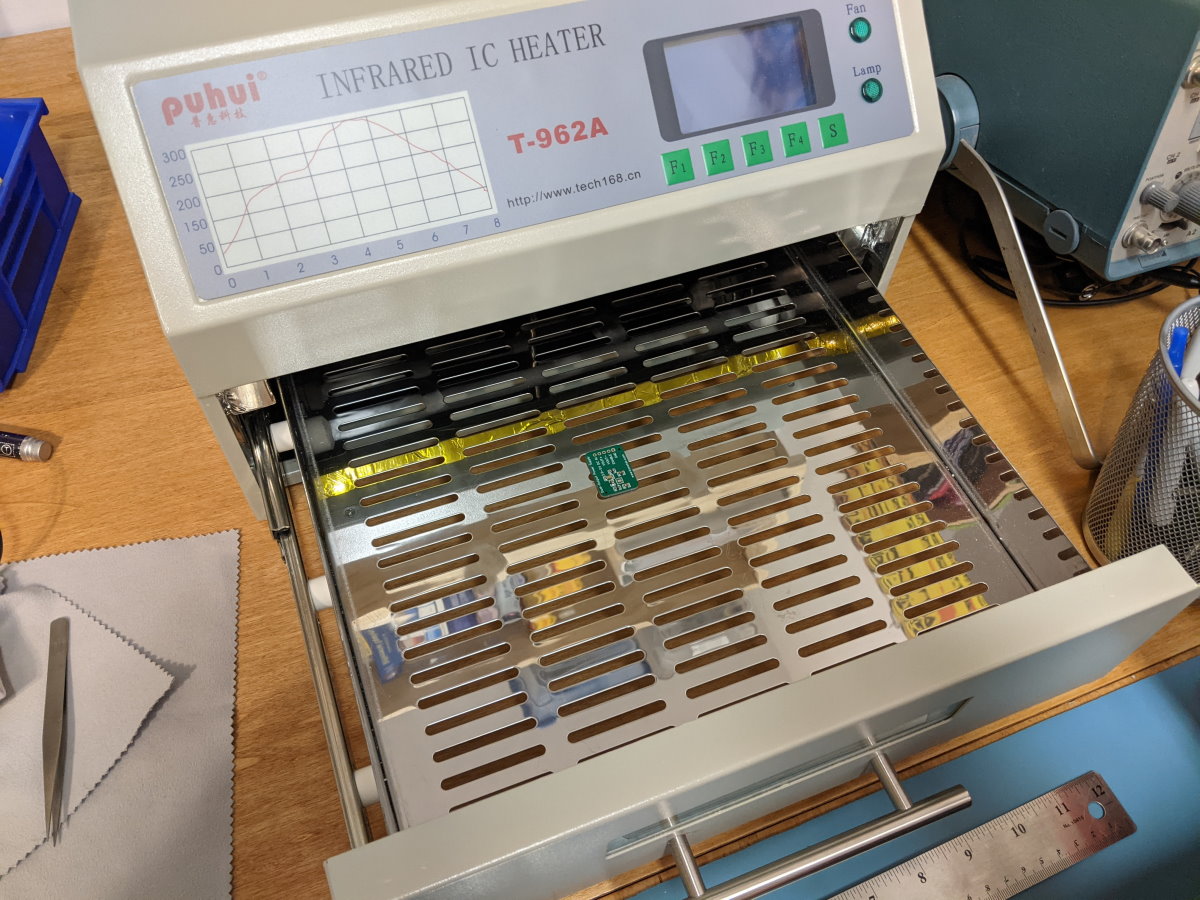
Puhui Reflow Oven.
Components & Storage
Every good electronics lab will have a nice variety of jelly bean components. Over the years I’ve acquired quite a few. When prototyping a project it’s very productive to be able to just locate and use an in-house component. The challenge with having so many components is managing their storage. If you don’t manage the storage of the components properly, then you won’t be able to find the parts when you need them. However, properly managing the storage of the components takes time and effort and there are so many different approaches to solving this problem. I haven’t settled on one method entirely but seem to have found a nice balance between two different approaches.
I think it goes without saying that you will need some kind of storage bins/containers to hold your parts. That's the easy part. The hard part is deciding how to organize the components, i.e. by type, alphabetically, by bin number, etc. Early on, as can be seen in the first two picture below, I loosely labeled my parts sometimes by generic name, sometimes by brand name, sometimes including the component values and sometimes even with pictures of the item. This worked out okay but requires me to look through all of the storage bins to find the part I'm looking for. In the third picture below you can see I started to use bin location numbers such as A1, A2, B1, B2, etc. These bin numbers are used by an online app, PartsBox, that I use that lets me manage the inventory of all of my components online. The basic version is free and is really nice and very responsive. So for all new components that I order, as soon as they are received they get entered into the system. Being able to search using the online app and quickly determine the parts bin location is awesome.
Finally in the last picture below you can see my hanging plastic storage bins. These are really good for the bigger things that just don't fit into the smaller bins/drawers. I also keep a lot of my tools in the lower bins for easy access such as tweezers, screw drivers, pliers, side cutters, etc.
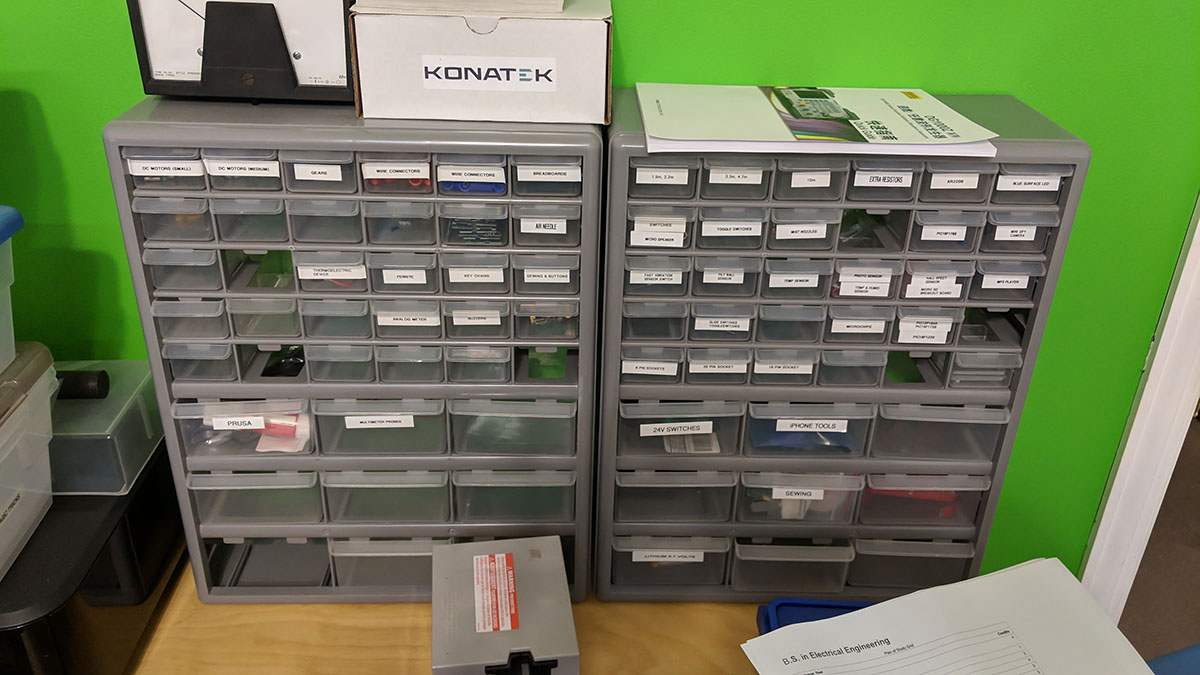
Akro-Mils Small Parts Organizer
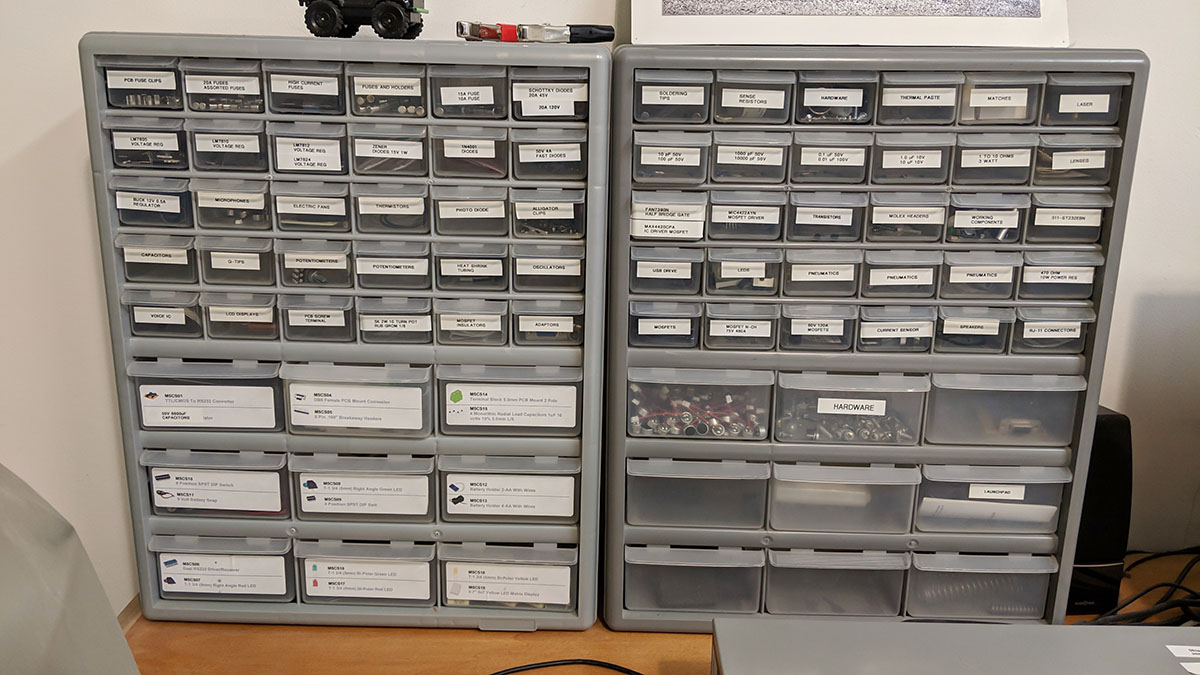
Akro-Mils Small Parts Organizer
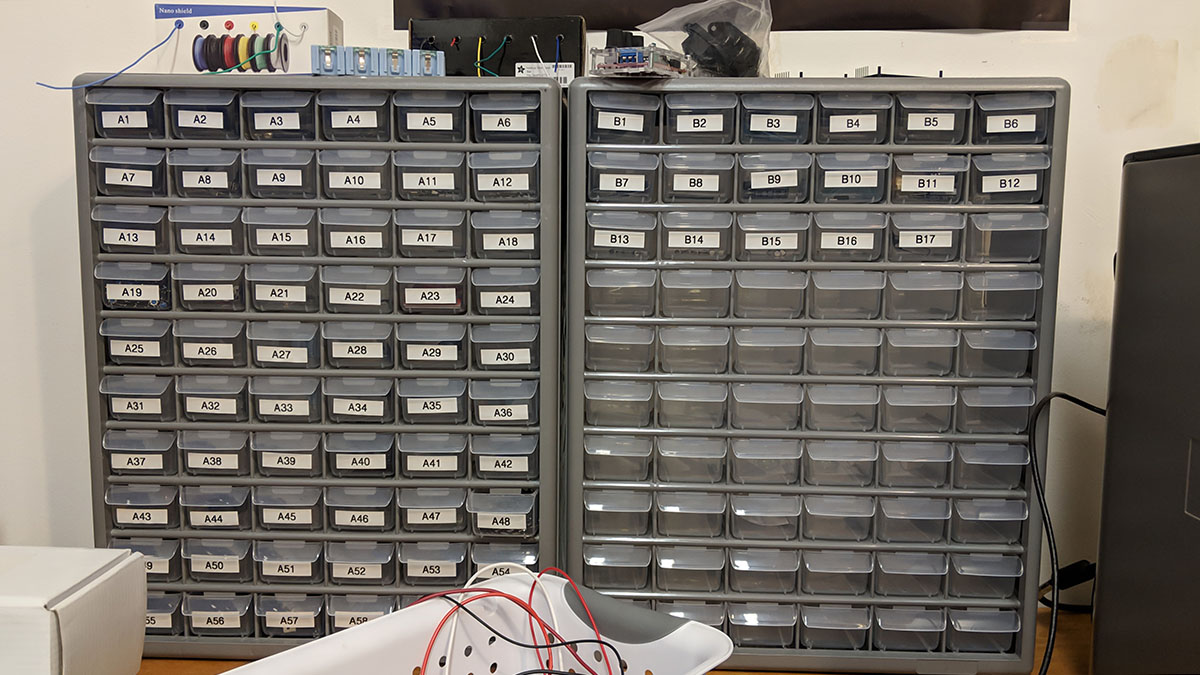
Akro-Mils Small Parts Organizer
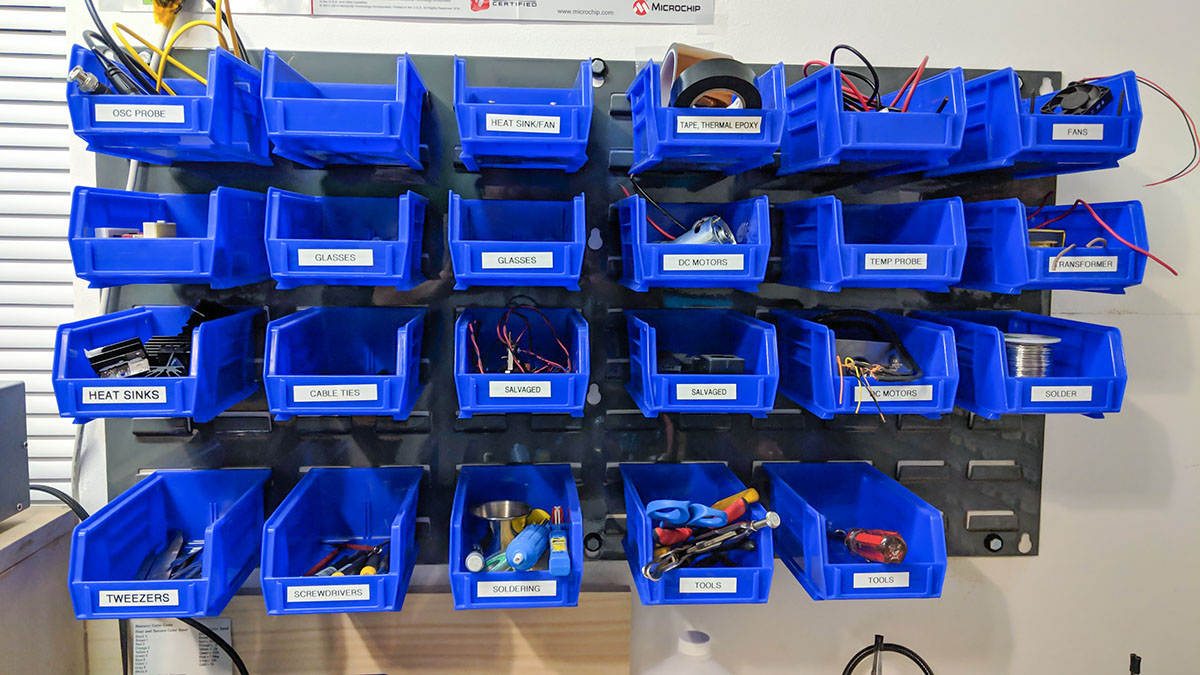
Akro-Mils Plastic Storage Hanging Bins
We hope that you will be able to take advantage of some of our Products in your next project.