Wrist Voice Recorder
by Sidney Kantor
The Vision
One day I was playing with the Nuvoton ISD1620 voice record & playback IC on a breadboard in my lab and my young son was curious how it all worked. So I showed him which button was for record and which was for playback and he absolutely loved it. So that inspired me to create a fun wrist voice recorder that he could play with. I also thought it was something I could use if I had an idea about something or needed to remember something while out and about. And yes, we all have mobile phones that can do this, but the idea of having something ready to go on your wrist with a single button press was very appealing. Also, wherever I wear this, people are always asking me about it so its a great conversation starter as well.
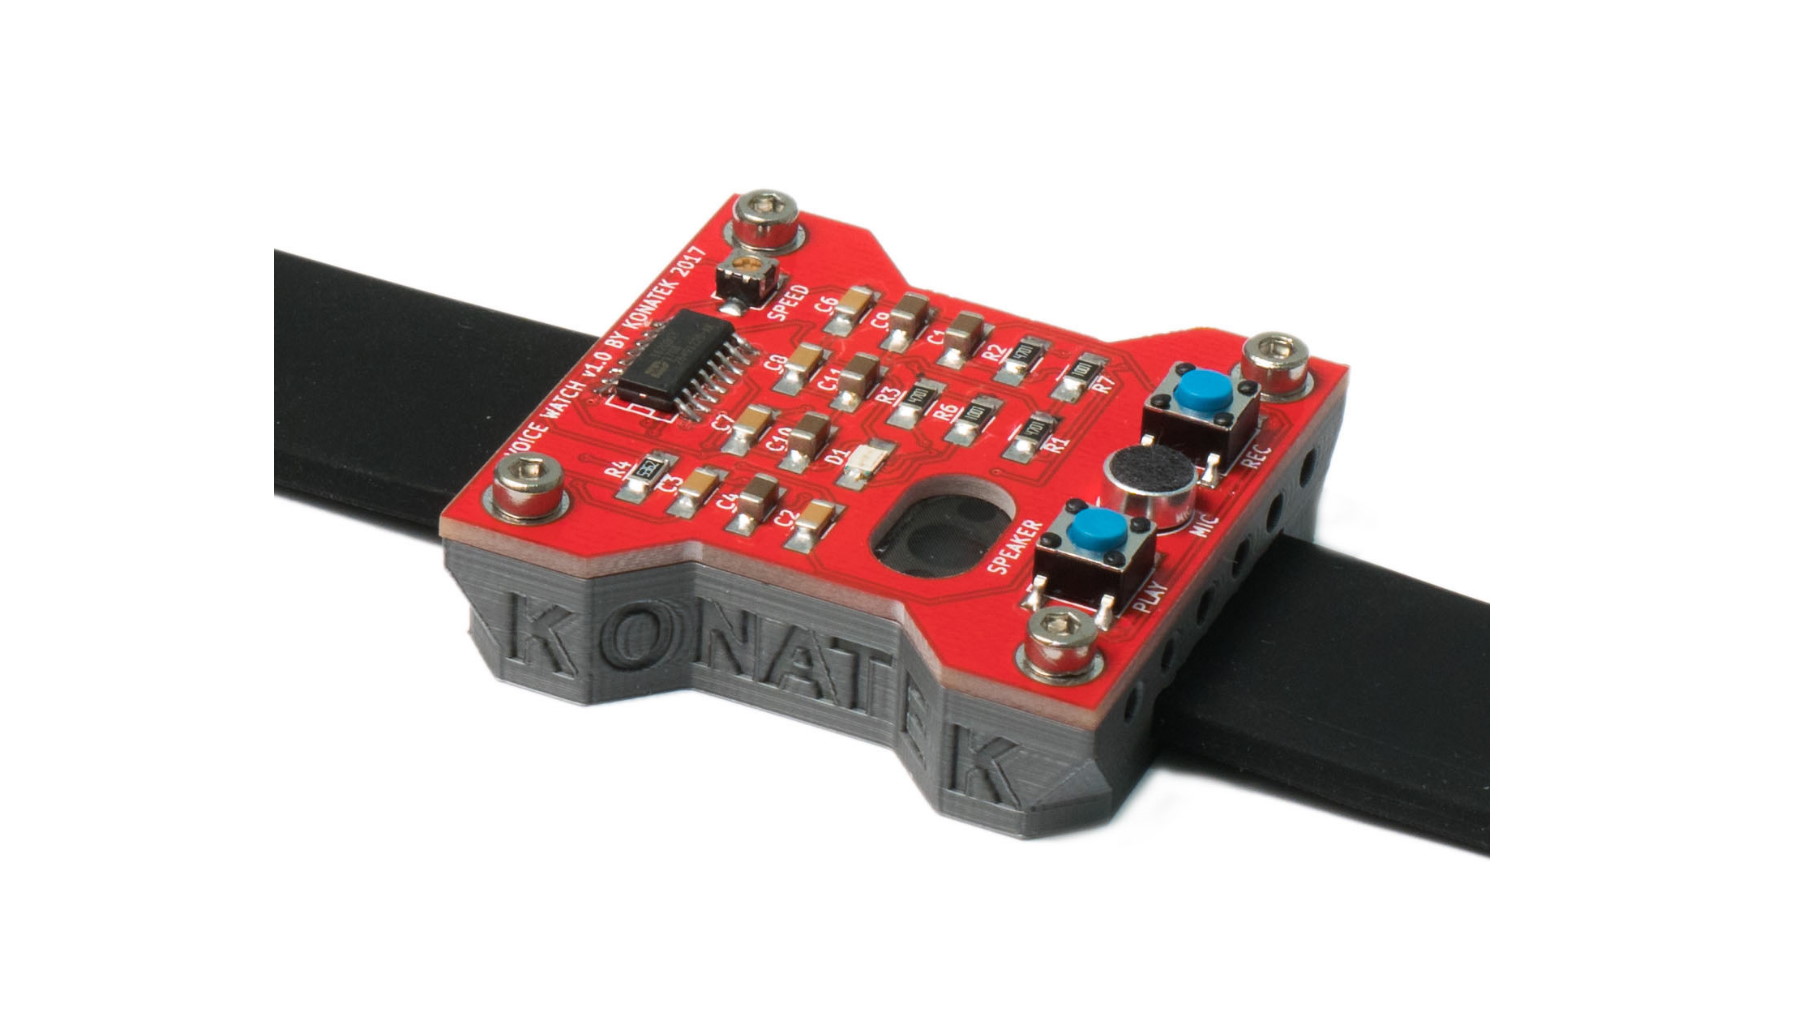
Personal voice recorder project in the style of a futuristic looking watch.
The Design
Using Autodesk Fusion 360, I designed a case for the wrist voice recorder that was stylish and futuristic. I would then design my PCB around this enclosure. The enclosure was printed on an Original Prusa i3 MK2S 3D Printer using PLA filament. Note the slots and the small holes. These would secure the wrist band to the enslosure.
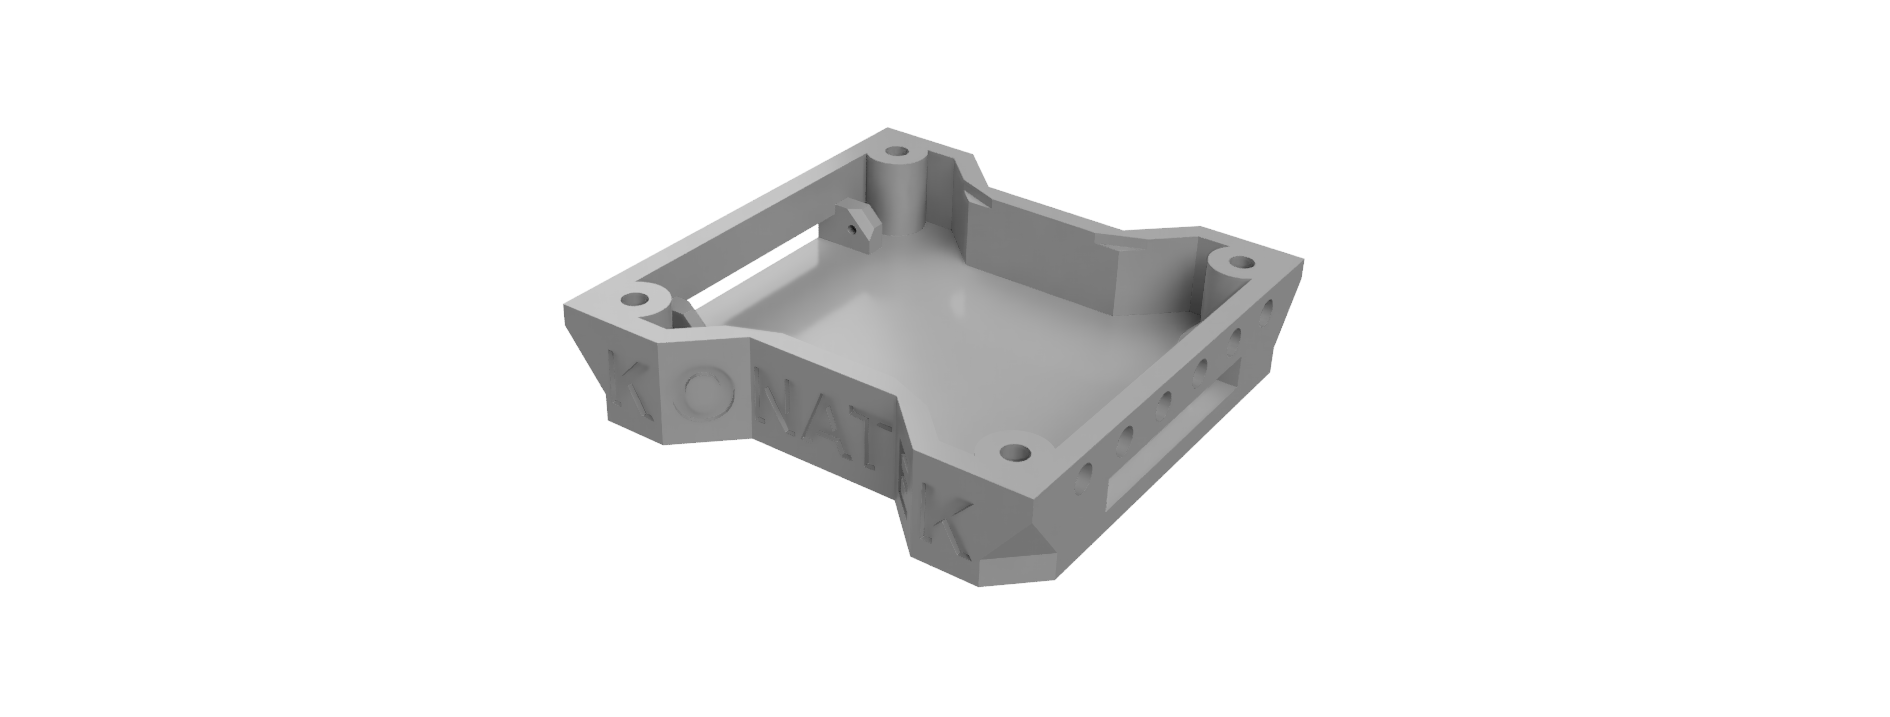
3D rendering generated from the design in Autodesk Fusion 360.
I laid out the components to create a visually symmetrical appearance. Also, going with stainless steel allen head screws really added to the sleek final look. Also, note the trim pot labelled "SPEED". The message record length can be adjusted between 6.6 and 40 seconds by changing the resistance on the Rosc pin of the IC. Therefore, I took advantage of this and used the trim pot which allowed for changing the playback speed and created the effect of speeding up of or slowing down the playback, which is a lot of fun.
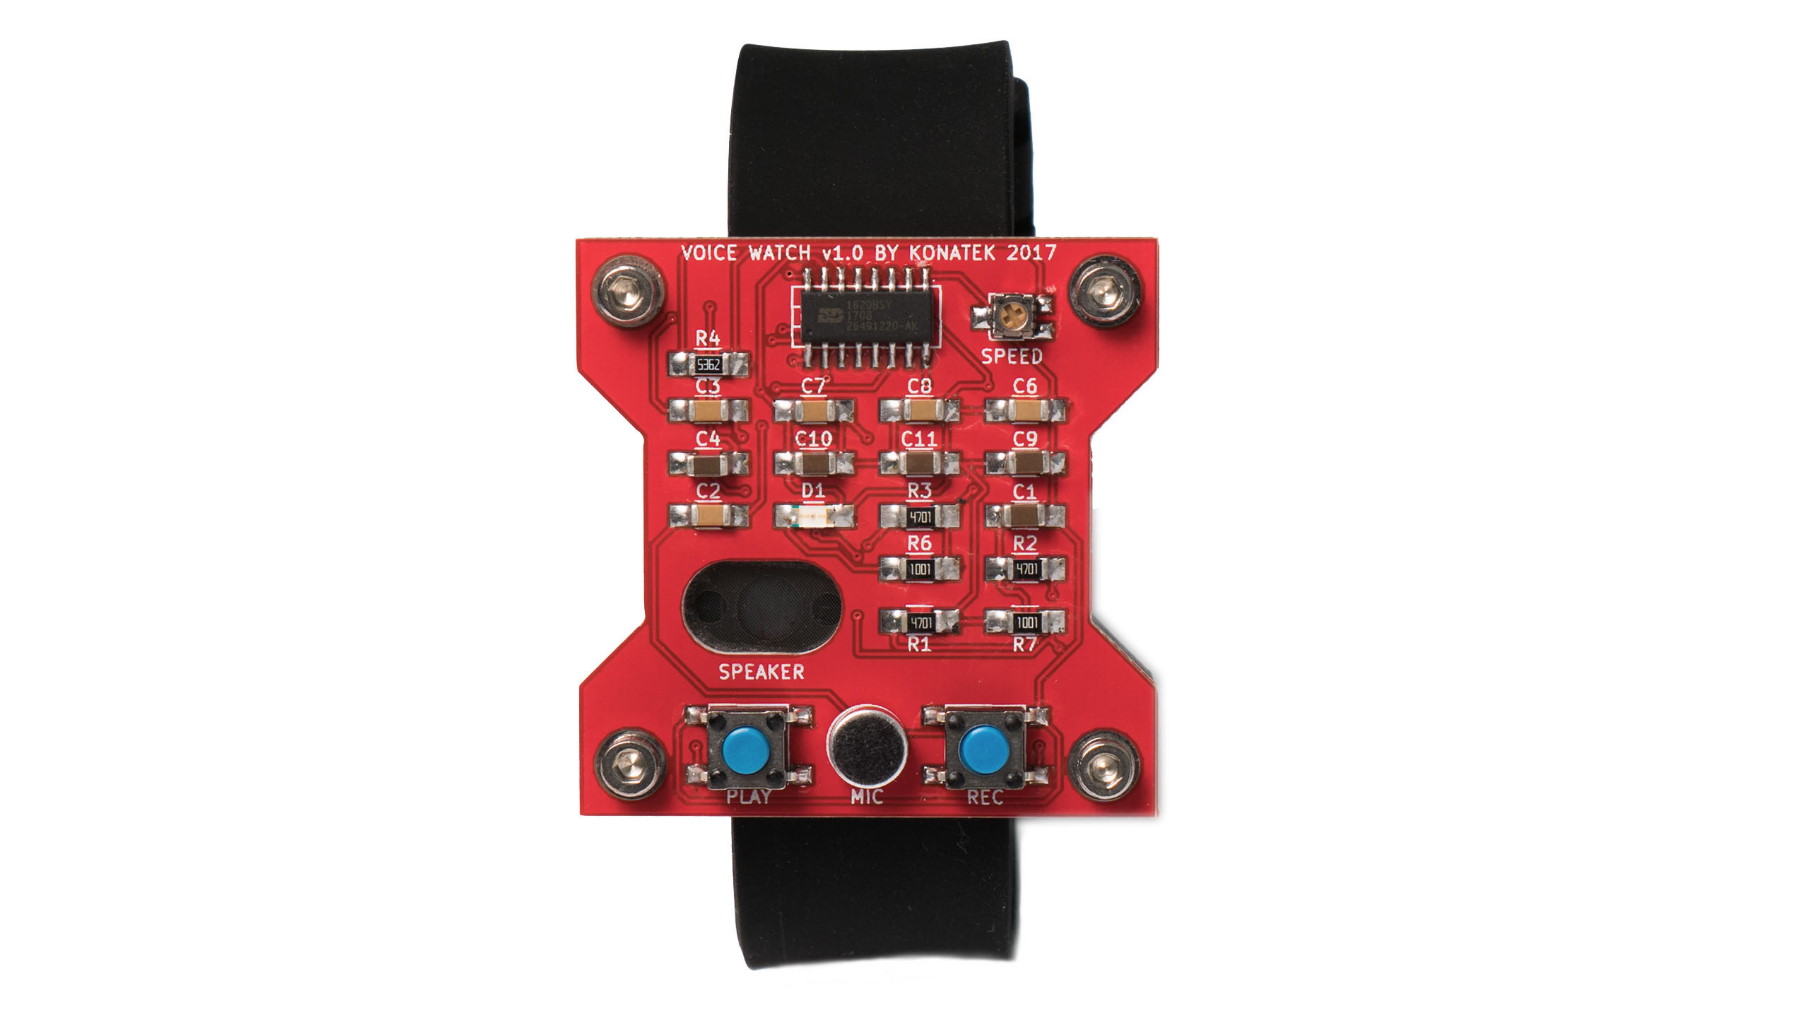
The populated and finished product front view.
The wrist bands are a soft rubber compound and very comfortable. I really like the contrast between the black, red, grey, blue and stainless steel. The watch is powered by a single CR2032 lithium coin cell internally.
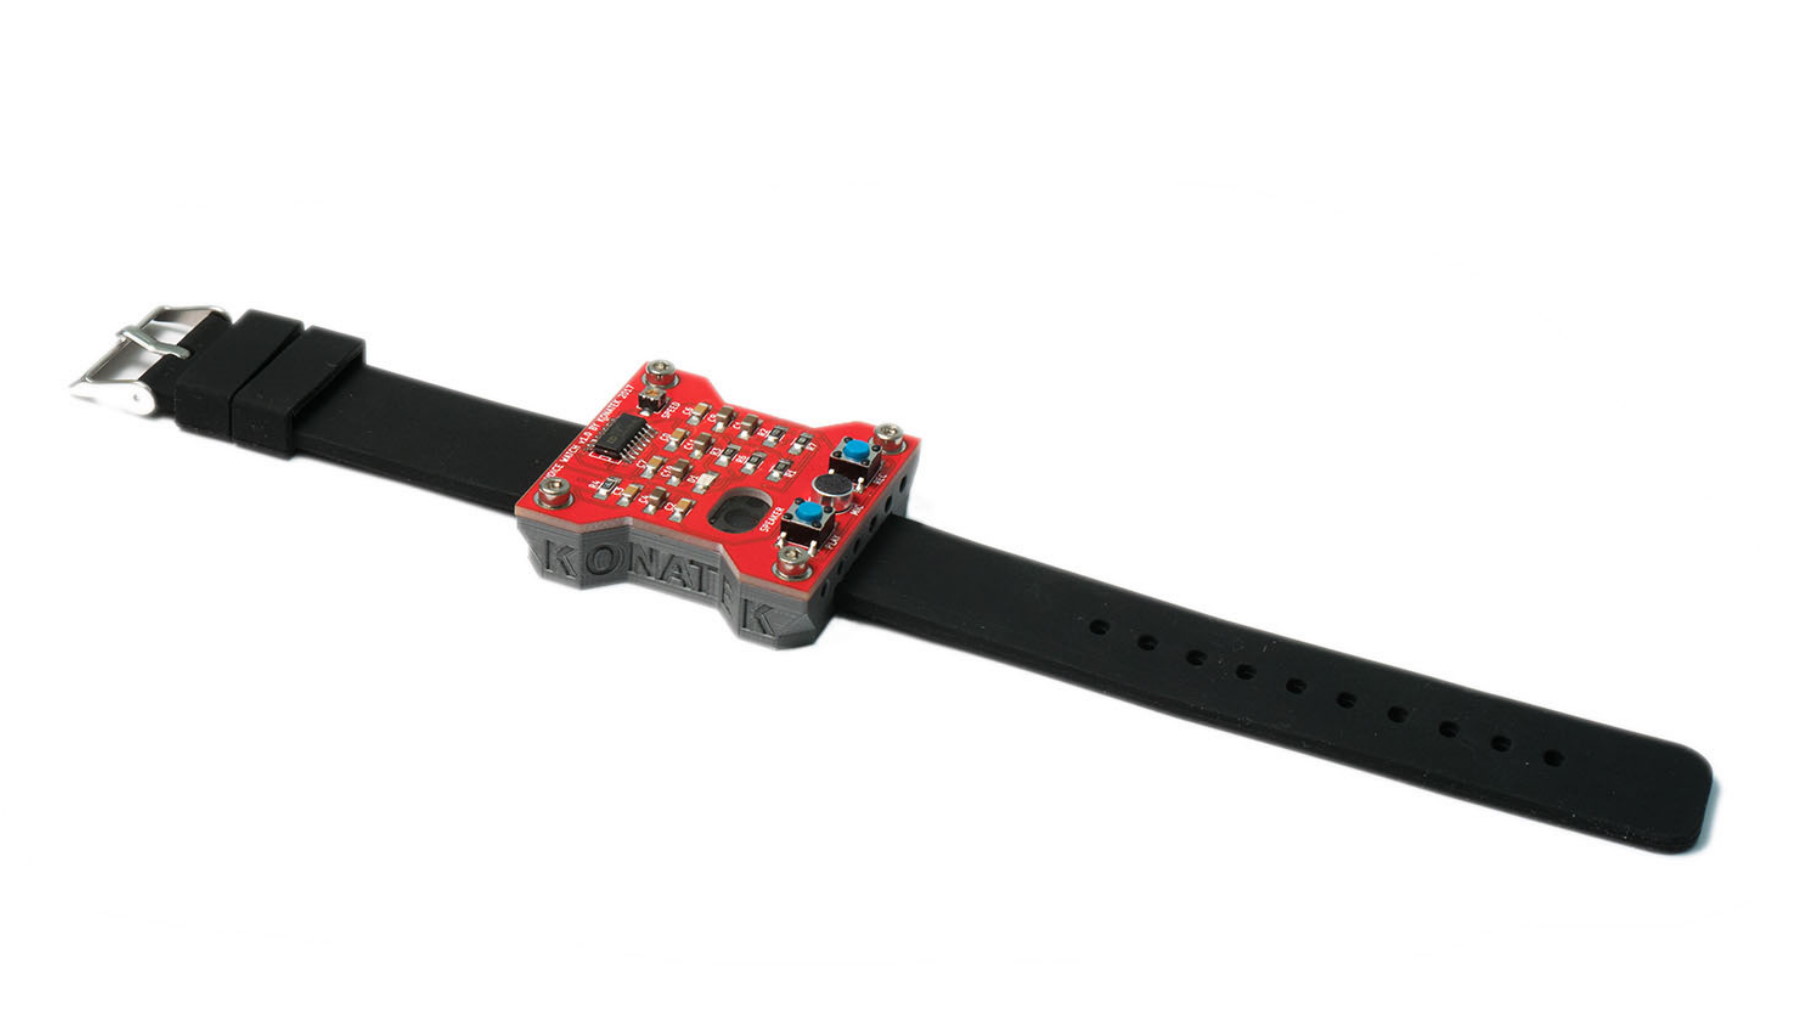
The populated and finished product oblique view.
Schematic
Schematic was done in Kicad.

PCB Layout
The PCB layout was done in Kicad.

3D View
Kicad has a really nice and built-in photorealistic renderer. Below are the top and bottom renderings of the PCB. On the bottom rendering you can see three large pads which is where the battery holder was soldered into place.
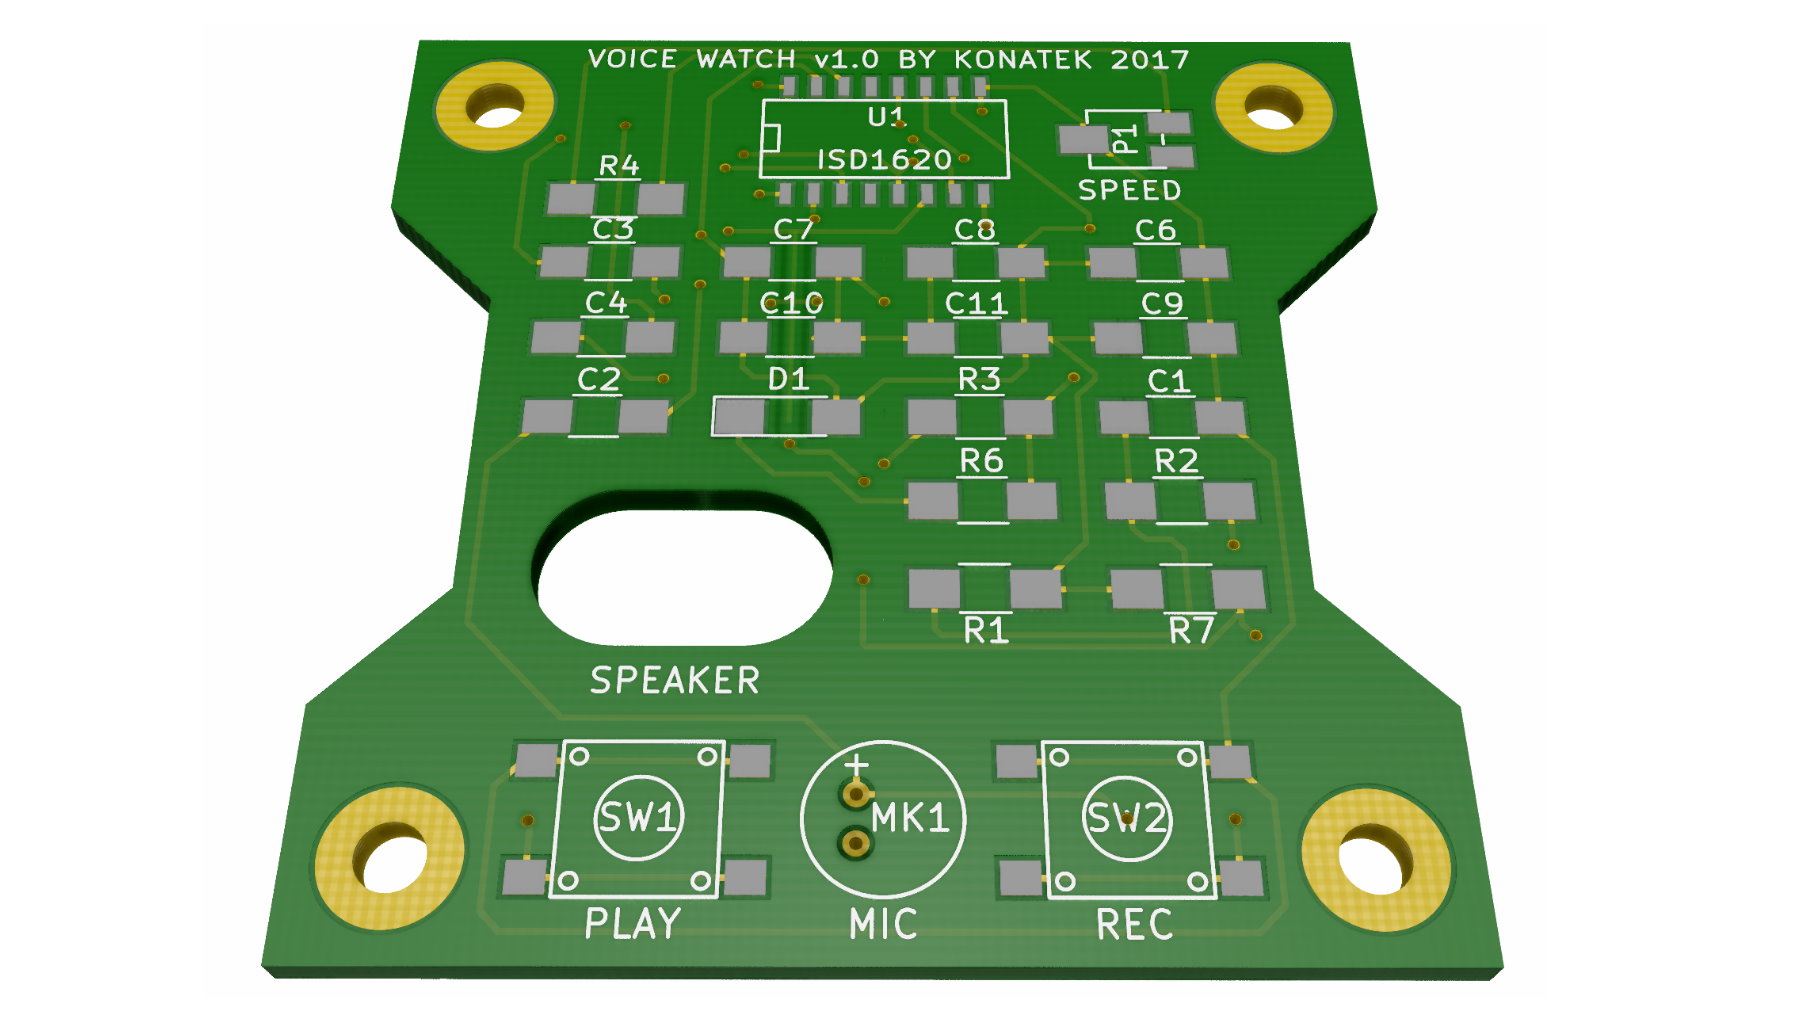
The rendered top of the PCB.
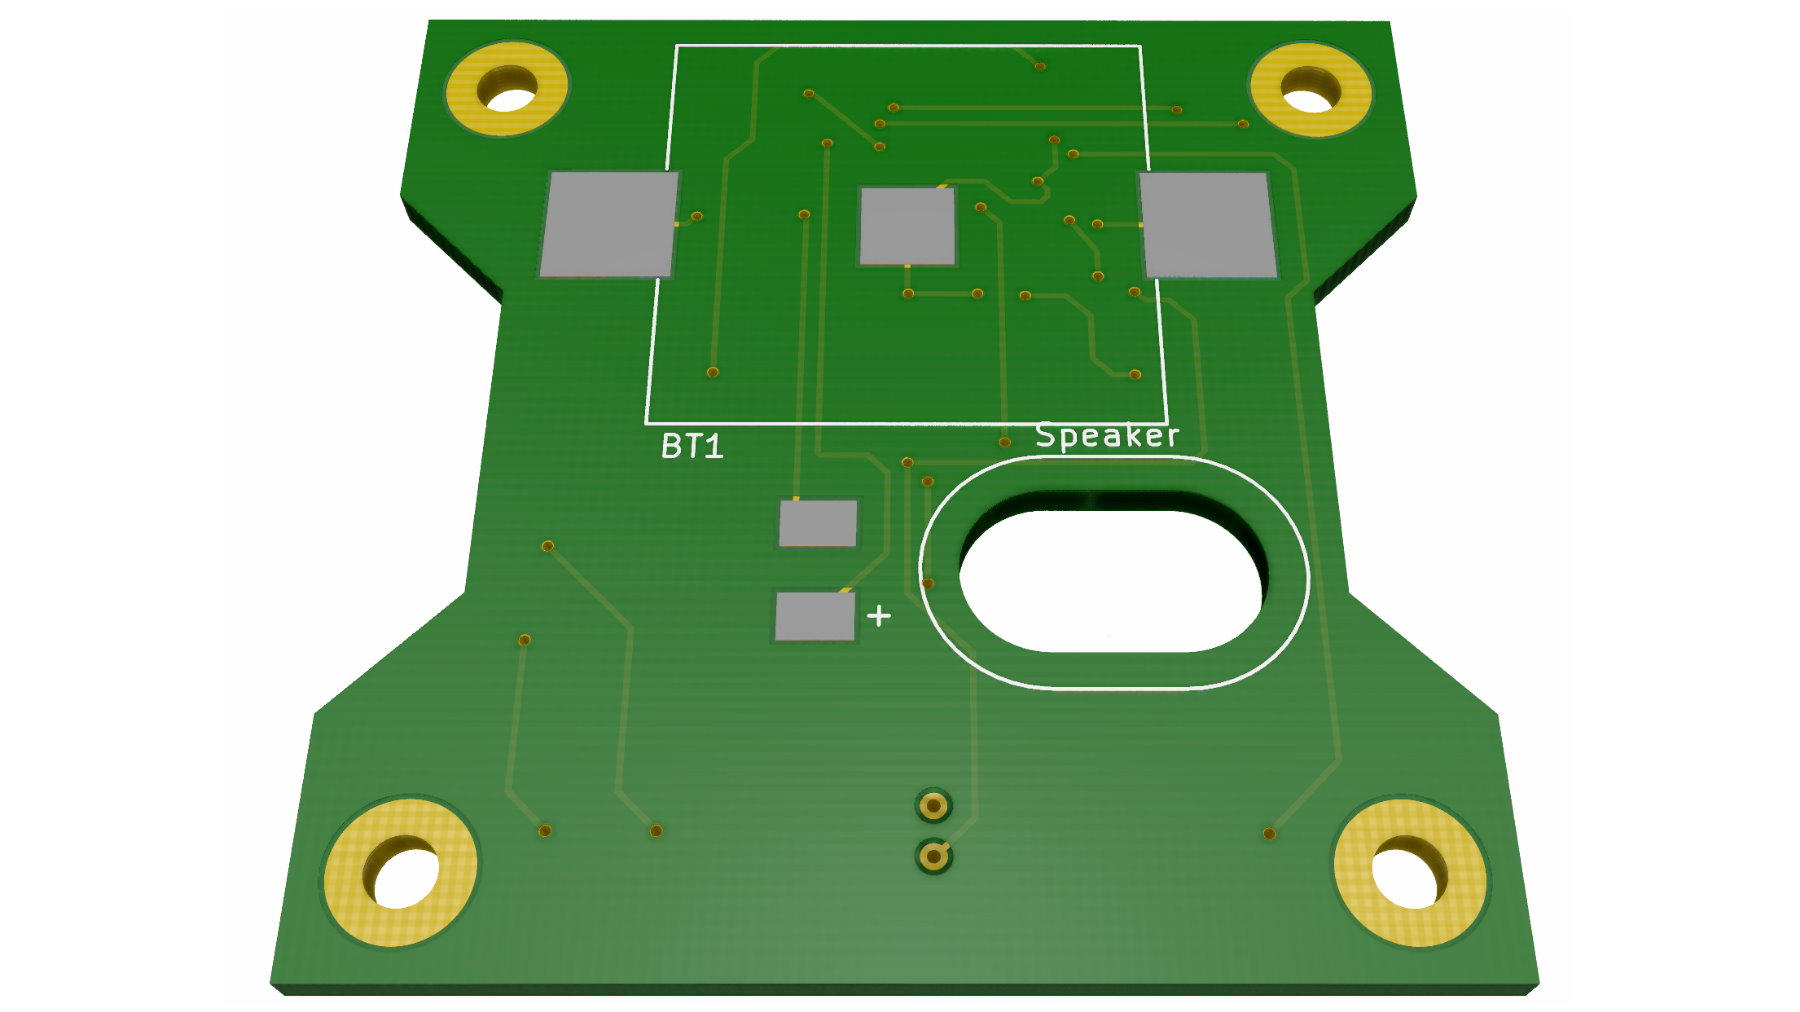
The rendered bottom of the PCB.
Wrist Voice Recorder Video
Checkout a short video on the wrist voice recorder in action.